


GET A FREE QUOTE TODAY - CALL US 800-942-0390

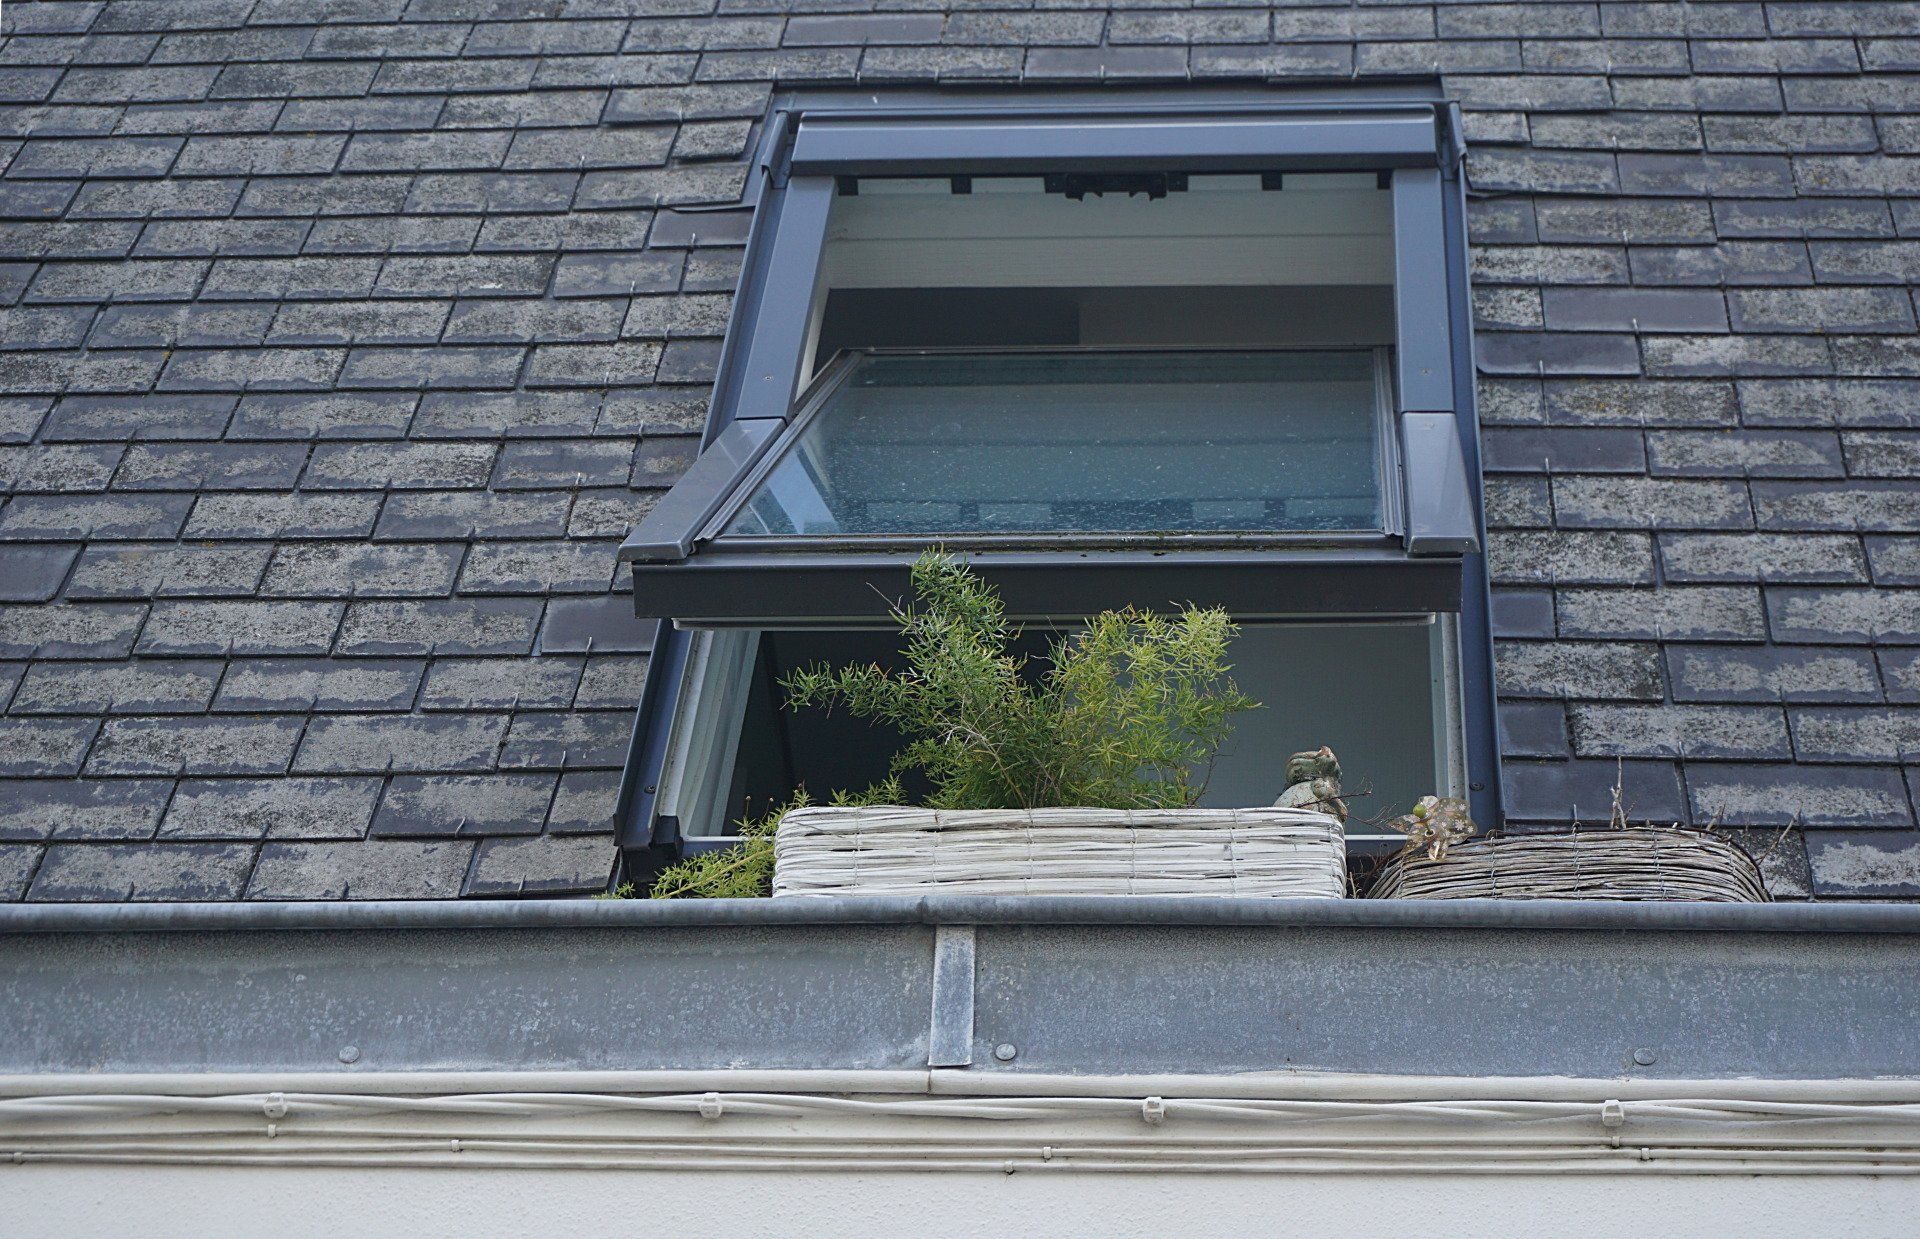
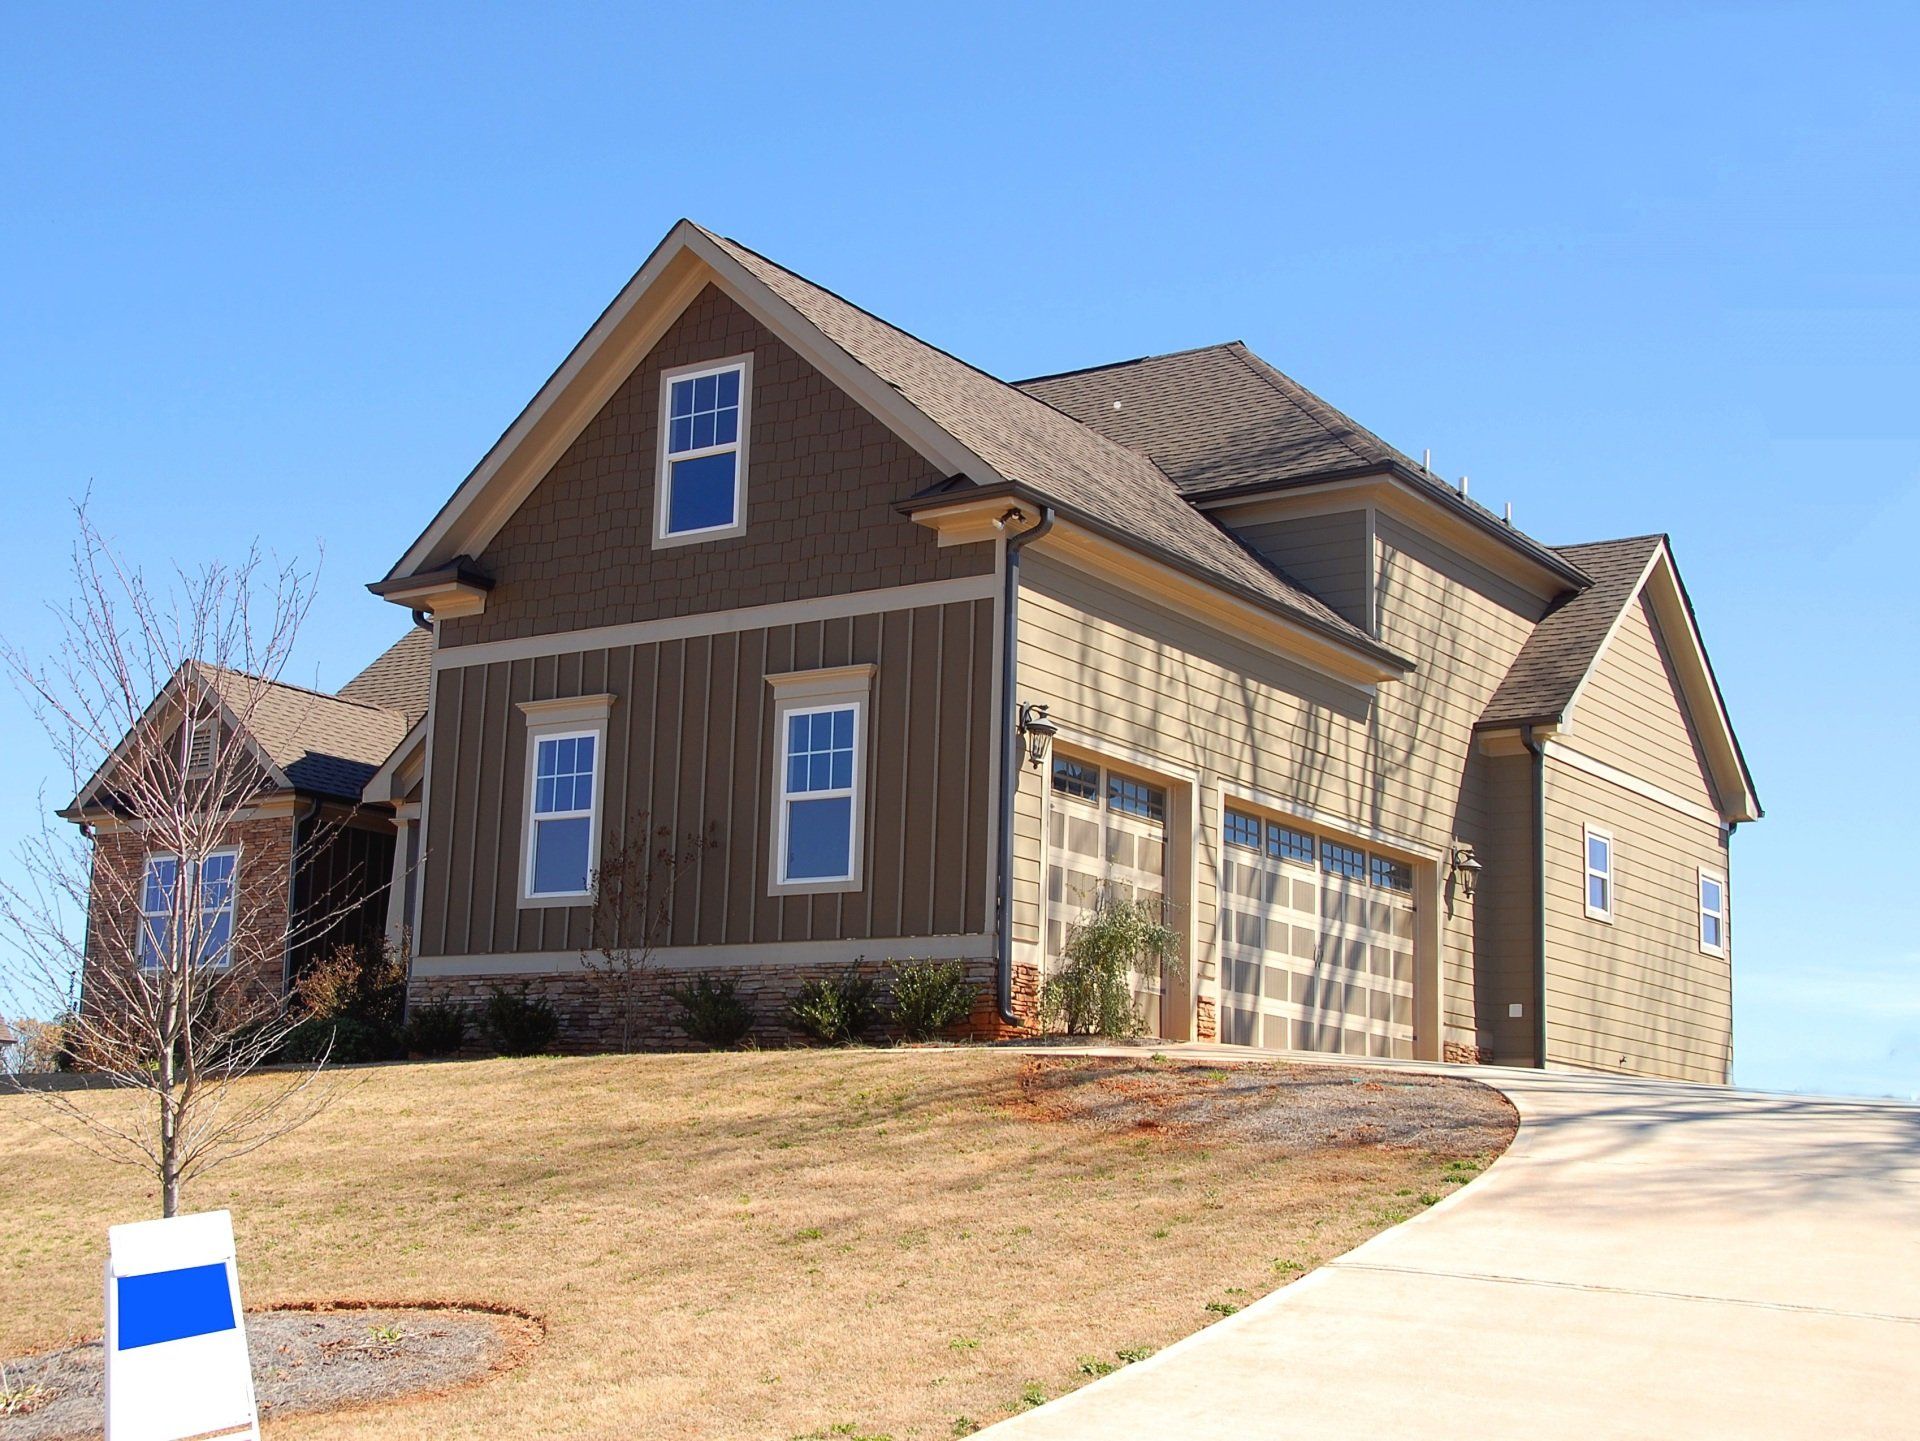
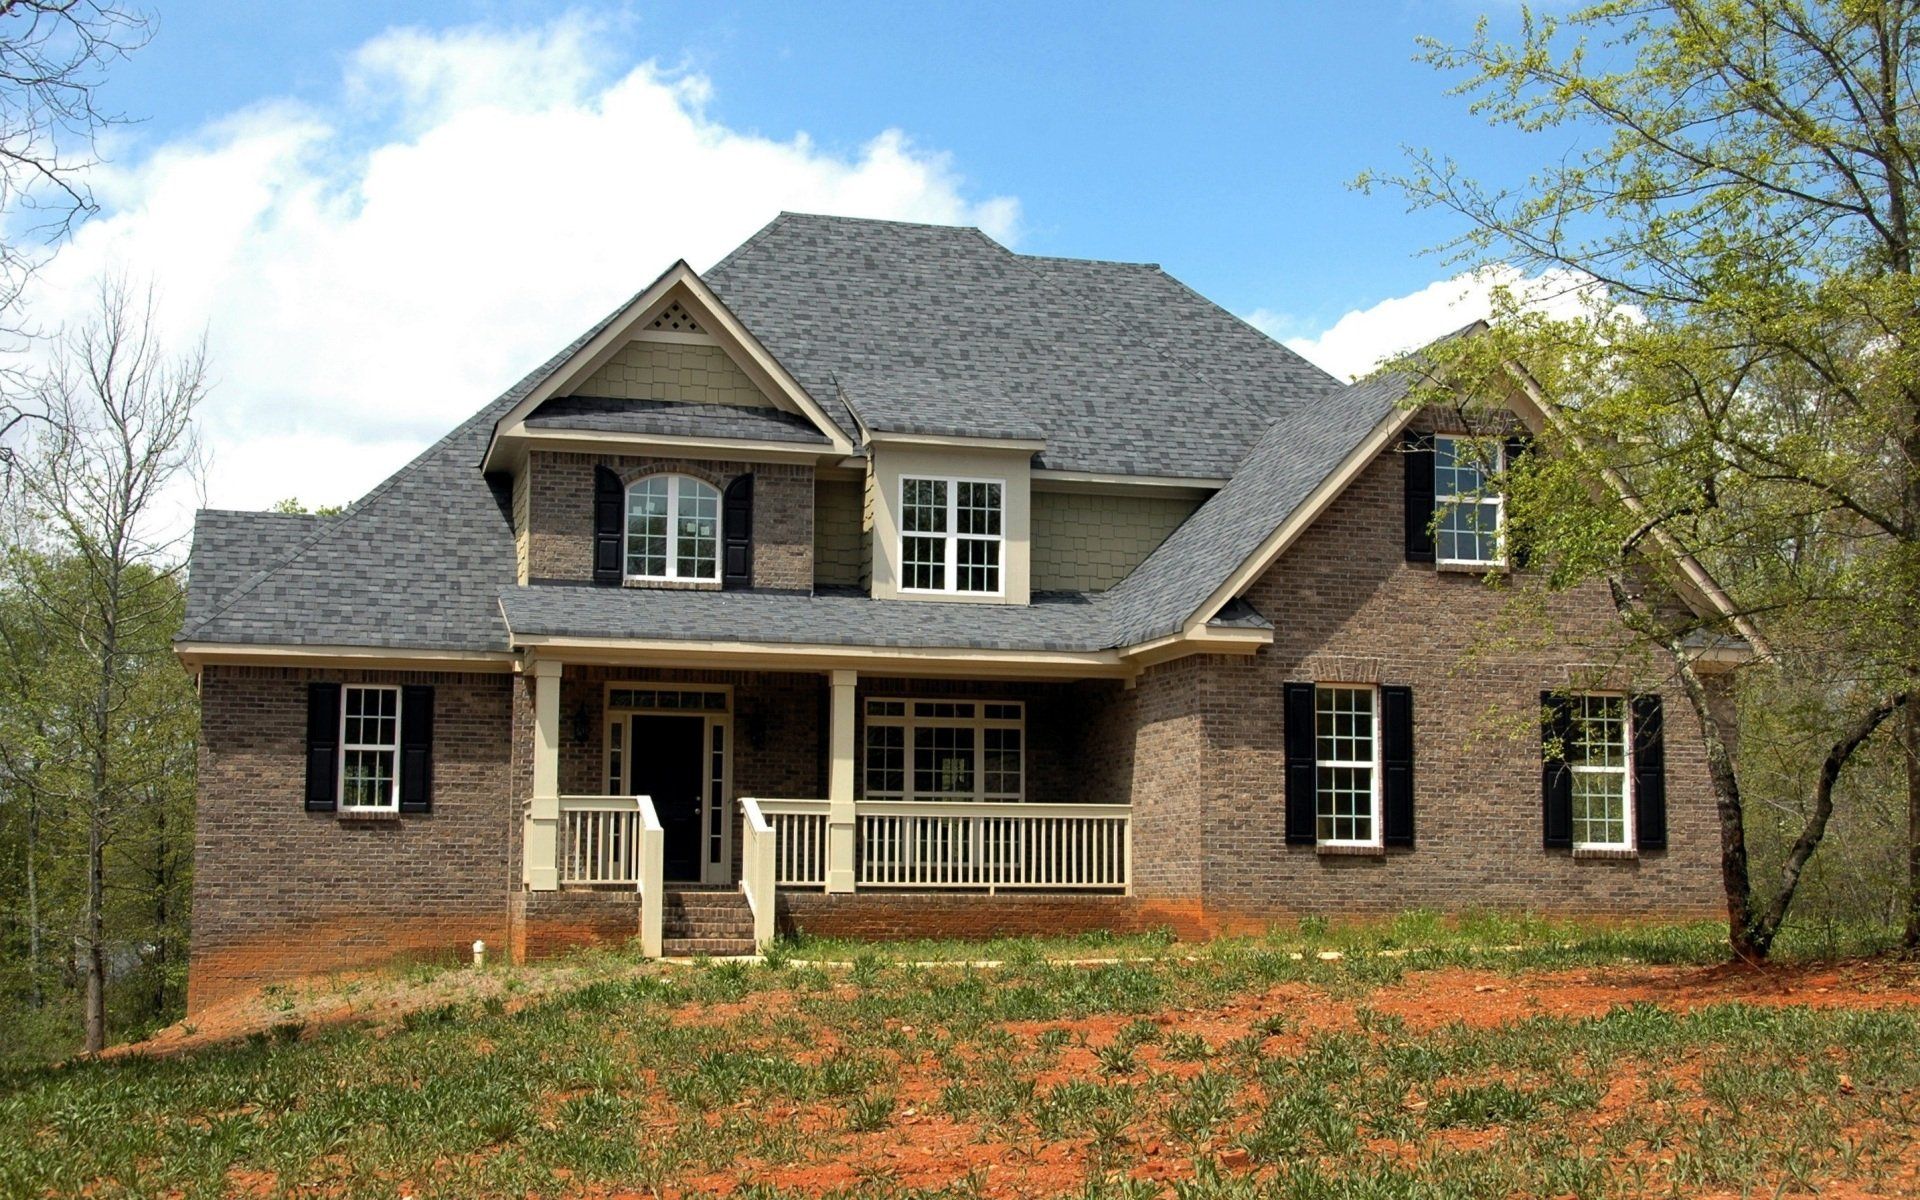
Roder Construction Group: Shingle Roofing in Plano, TX
Shingle roofing is one of the most popular types of roofing for both residential and commercial properties. It's durable, it's attractive, and it can be installed relatively easily. If you're a roofing contractor in Plano, TX, then you need to know how to install a shingle roof. Here's a step-by-step guide to help you out.
Step 1 - Choose the Right Shingles
The first step in installing a shingle roof is to choose the right type of shingles. There are two main types of shingles: organic and fiberglass. Organic shingles are made from paper or wood fibers, while fiberglass shingles are made from glass fibers. There are also two different types of organic shingles: asphalt and fiberglass-based. Asphalt shingles are the most common type of shingle, while fiberglass-based shingles are more durable and fire resistant.
Step 2 - Measure the Roof
Once you've chosen the right type of shingles, you need to measure the roof so you know how many shingles you need. This is a critical step, because if you don't have enough shingles, your roof will be vulnerable to leaks. To measure the roof, start at the bottom edge and measure up to the peak. Then, measure from one side of the roof to the other. Make sure to measure both the length and width so you know how many shingles to buy.
Step 3 - Remove the Old Shingles
If you're installing a shingle roof on a new property, then you can skip this step. However, if you're replacing an old roof, you need to remove the old shingles before you can install the new ones. To remove the old shingles, start at the bottom edge of the roof and work your way up. Use a crowbar or pry bar to gently lift the shingles off of the roof. Once they're removed, dispose of them properly.
Step 4 - Install the Starter Course
The starter course is the first row of shingles that you'll install on the roof. This course provides a base for the rest of the shingles, so it's important to make sure it's level and even. To install the starter course, lay down a layer of asphalt-based adhesive on the roof. Then, place the first row of shingles on top of the adhesive. Make sure to press them firmly into place so they adhere properly.
Step 5 - Install the Second Course
Once the starter course is in place, you can start installing the second course. For this course, you'll need to use longer shingles so they overlap the shingles in the first course. To install the second course, start at the bottom edge and work your way up. Lay down a layer of adhesive, then place the shingles on top. Make sure to overlap each shingle by about two inches.
Step 6 - Install the Third Course
The third course is installed just like the second course. However, you'll need to use even longer shingles so they overlap the shingles in the second course. To install the third course, start at the bottom edge and work your way up. Lay down a layer of adhesive, then place the shingles on top. Make sure to overlap each shingle by about two inches.
Step 7 - Install the Ridge Cap
The ridge cap is the final course of shingles that you'll install on the roof. It covers the ridge, or peak, of the roof and provides protection against weather and pests. To install the ridge cap, start at one end of the ridge and work your way to the other. Lay down a layer of adhesive, then place the shingles on top. Make sure to overlap each shingle by about two inches.
Step 8 - Clean Up
Once you've finished installing all of the courses, it's time to clean up. Remove any loose nails or debris from the roof, then sweep it clean. If you're using a power washer, be careful not to damage the shingles. Once the roof is clean, you can sit back and enjoy your new shingle roof!


Company
We bring pride and passion to every project that we undertake, with a professional team of designers, project managers and tradespeople.